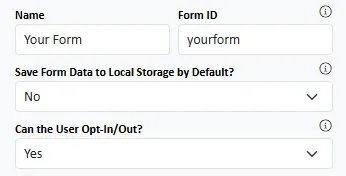
Name : Just for your information.
Form ID : Unique ID for the form. Only needed if you want to publish more than one form on one webpage.
Save Form Data : Does the form save data as the user types? And can the user opt-out of this?
Auto Size Section Columns and Columns : Do you want formstrap to suggest column widths for different screen sizes? You can switch this off, have the auto-widths visible only on preview or have the widths visible in the editor too. Note that if you make a change to columns within a section or a row then ALL auto-widths in the section/row will be discarded.
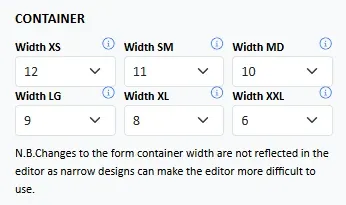
Width : How wide is the container on the page for each screen size? It is recommended you read the article on Responsive Layout.
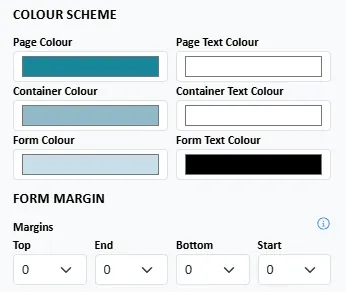
Colour Scheme : Choose colours for the page, the container (including the title and logo) and the form container (just the form components). You can choose a background and text colour for each.
Margin
Specify much space there is between the form components and the form container.
Margin
Specify much space there is between the form components and the form container.
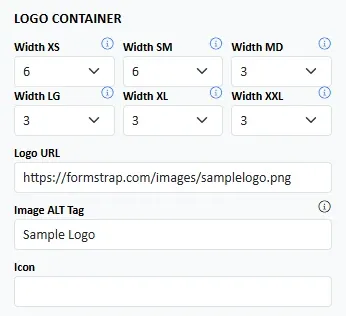
Logo Container : How much space in the container does the logo take up for each screen size.
Logo URL and Icon URL : Specify a image URLs. If you clear the box an upload button will appear and you can upload a logo. A favicon will also be generated.
Alt Tag : Provide a description of the image for assistive technology users. The image will not be used without it.
Logo URL and Icon URL : Specify a image URLs. If you clear the box an upload button will appear and you can upload a logo. A favicon will also be generated.
Alt Tag : Provide a description of the image for assistive technology users. The image will not be used without it.
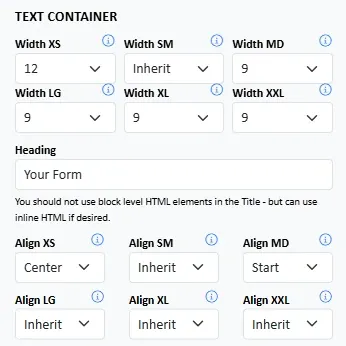
Width : How much space does the text container (e.g. title and description) occupy on different screen widths.
Heading : Give your form a title. It will be displayed as a H1 header at the top of the form.
Alignment : Specify its alignment on different screen widths. See the Form Settings Basics article for a visual guide to how this works.
Heading : Give your form a title. It will be displayed as a H1 header at the top of the form.
Alignment : Specify its alignment on different screen widths. See the Form Settings Basics article for a visual guide to how this works.
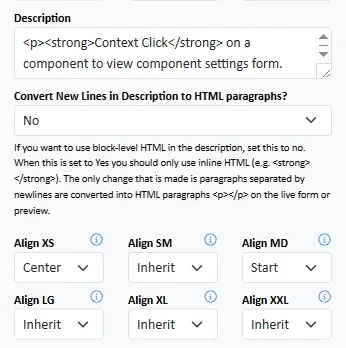
Description : Give your form a description. You can include HTML tags in here. Use this to provide initial instructions.
Convert to HTML : If you want your plain text description to be converted to HTML, select yes. Blocks of text will be converted into HTML paragraphs.
Align : Specify the text alignment of the description for each screen size.
Convert to HTML : If you want your plain text description to be converted to HTML, select yes. Blocks of text will be converted into HTML paragraphs.
Align : Specify the text alignment of the description for each screen size.
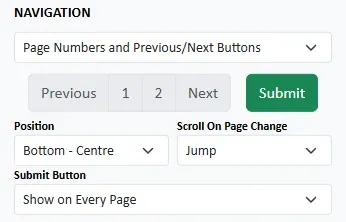
Pagination : Set the pagination type for multi-page forms. For more information read the Pagination and Navigation article.

Custom CSS : Add custom CSS here to style your form. This allows you to change the font, headers sizes or apply any other valid CSS rules. A detailed blog post will be published soon with a full list of formstrap classes that you can modify.
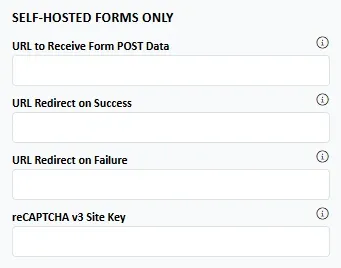
Receive URL : This script will receive and process the form submission.
On Success : The user will be redirected to this page if the form submission is processed successfully.
On Failure : The user will be redirected to this page if the form submission cannot be processed.
reCAPTCHA : Specify your reCAPTCHA site key if you are going to validate submissions with Google reCAPTCHA v3.
